Post By RelatedRelated Post
Kit manufacturer: Revell/Hasegawa
Vehicle type: Military
Engine type: Jet
Year of issue: after 1960
Country of origin: United Kingdom
Model scale: 1:48
For convenience I divided the overview of the scale airplane model in several chapters.
The construction of this model was launched in the framework of the duel, but for some circumstances, including the cooling of my relation to the model, it was delayed for several years and completed just now.
And it all began, I must say, rather questionable and rosy, but it was only the beginning, then the model that didn’t seem to be old revealed itself in all its glory, and there was a lot of things there, from great jointing of the model to primitivism in some details. In general, let’s talk about all things in order.
A bit of history
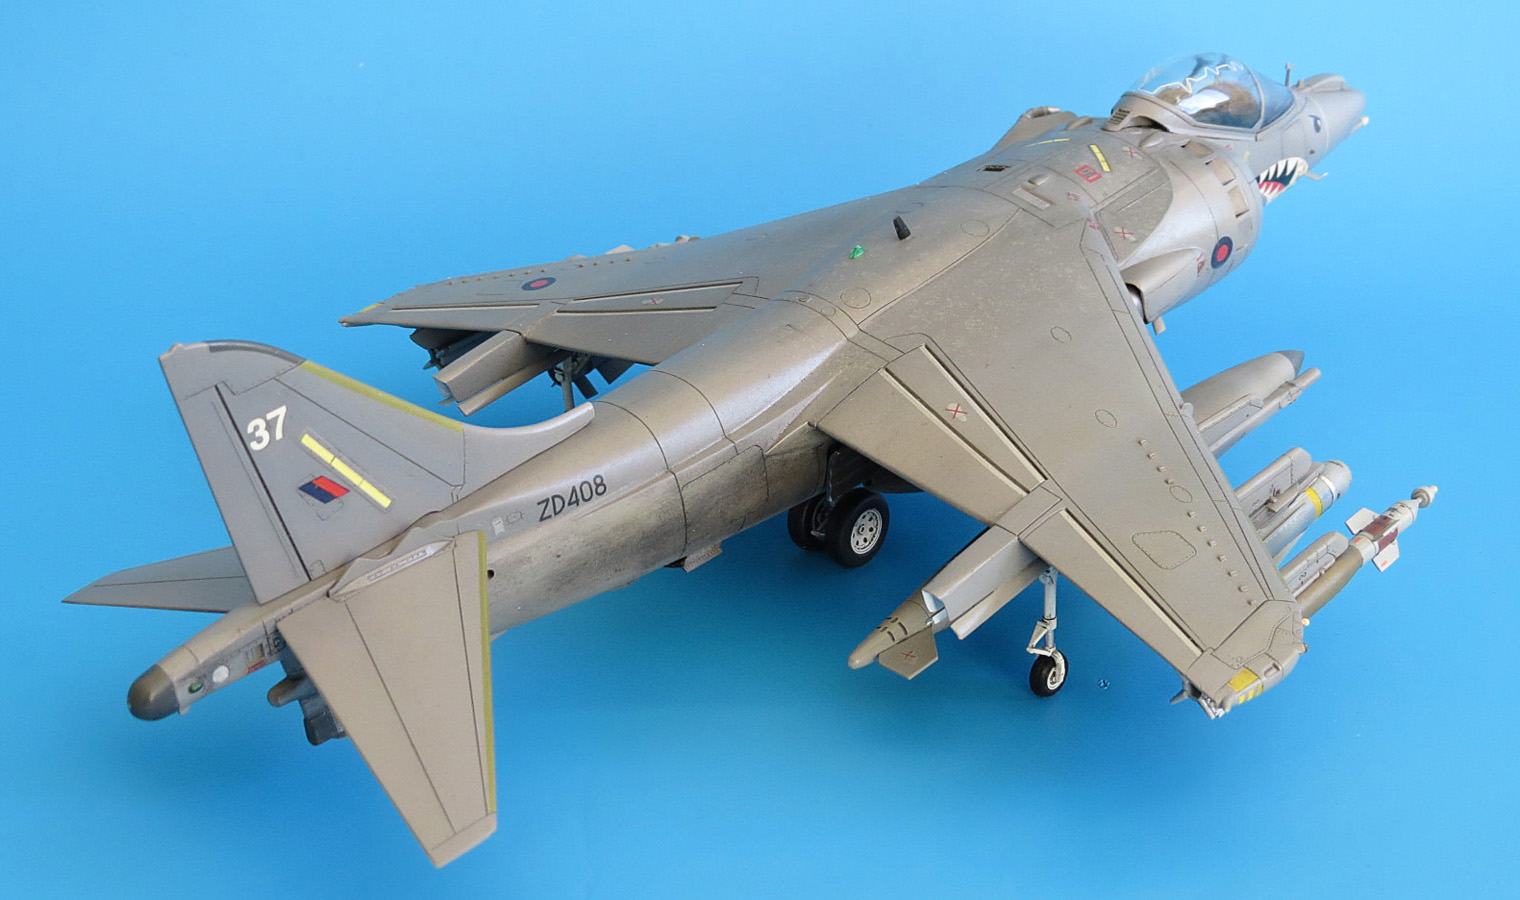
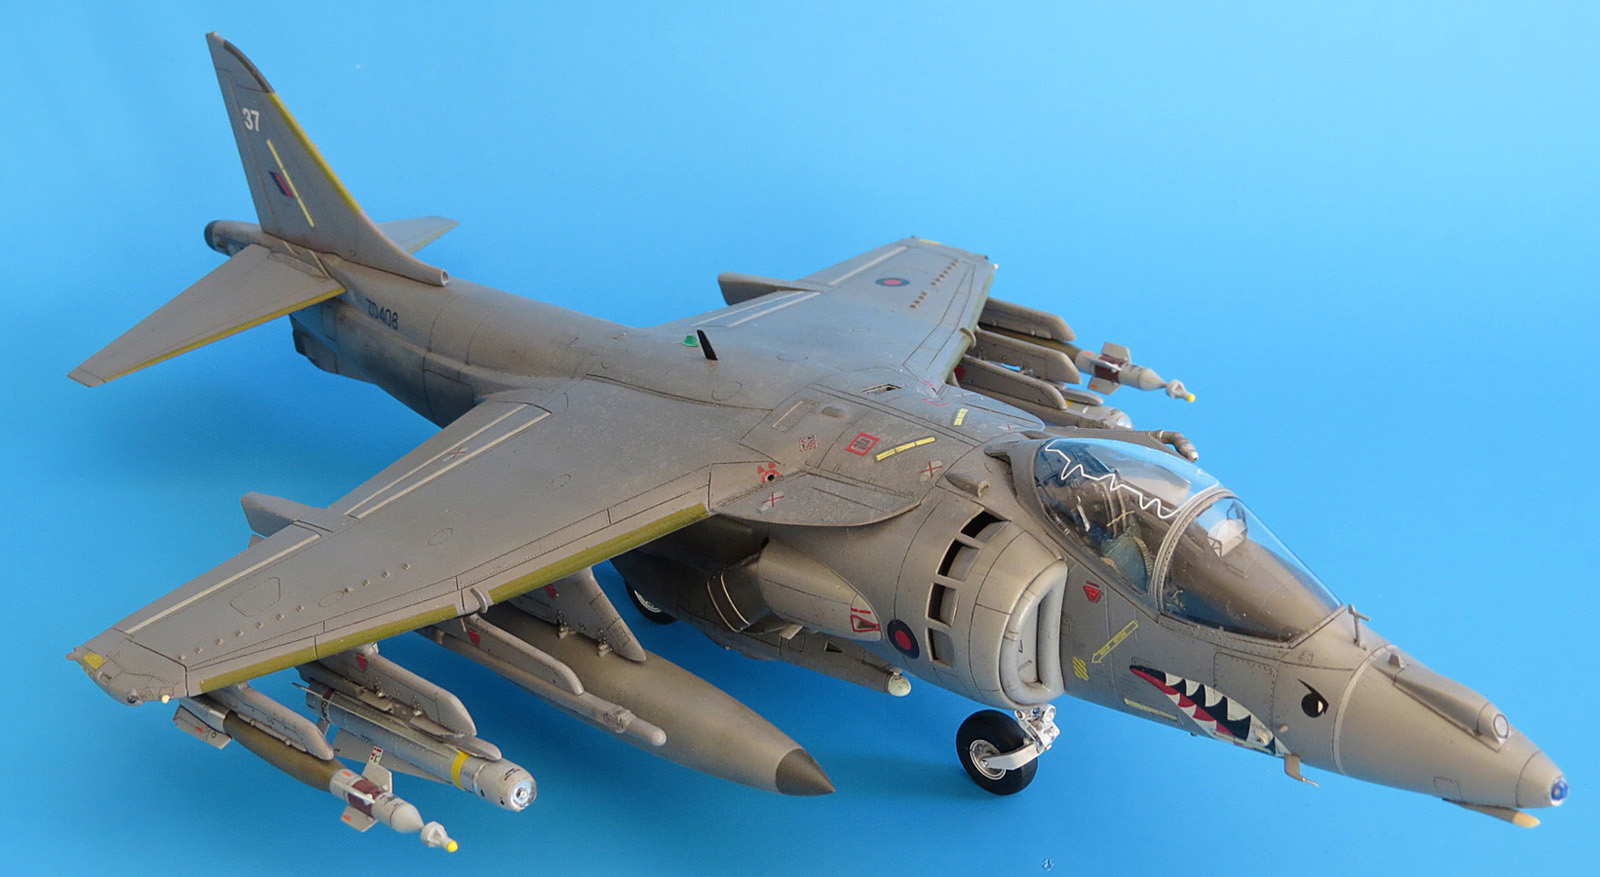
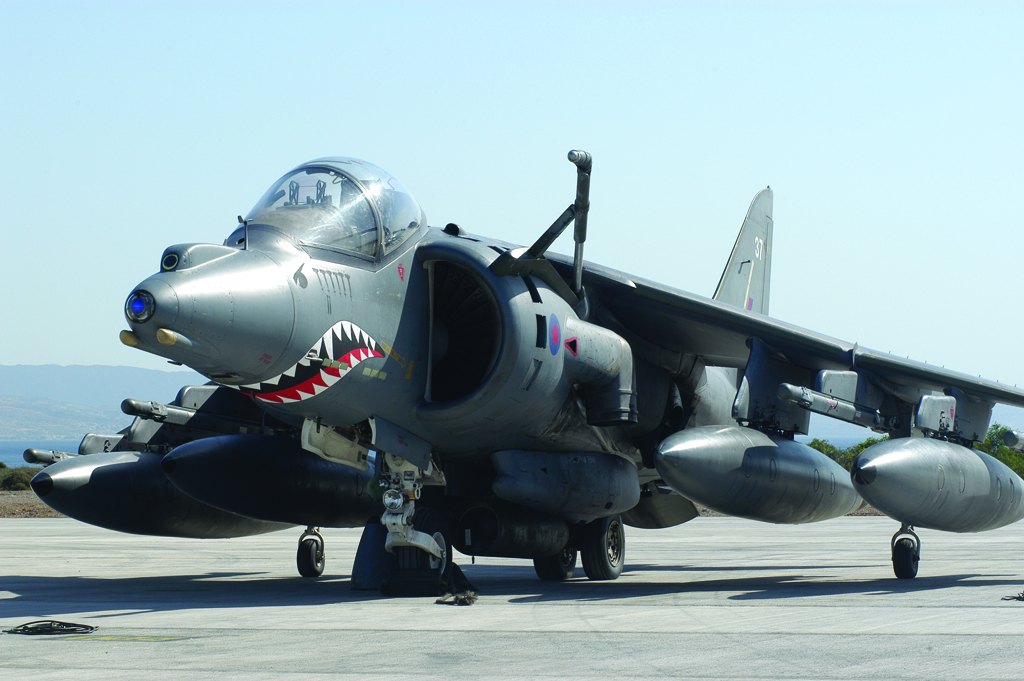
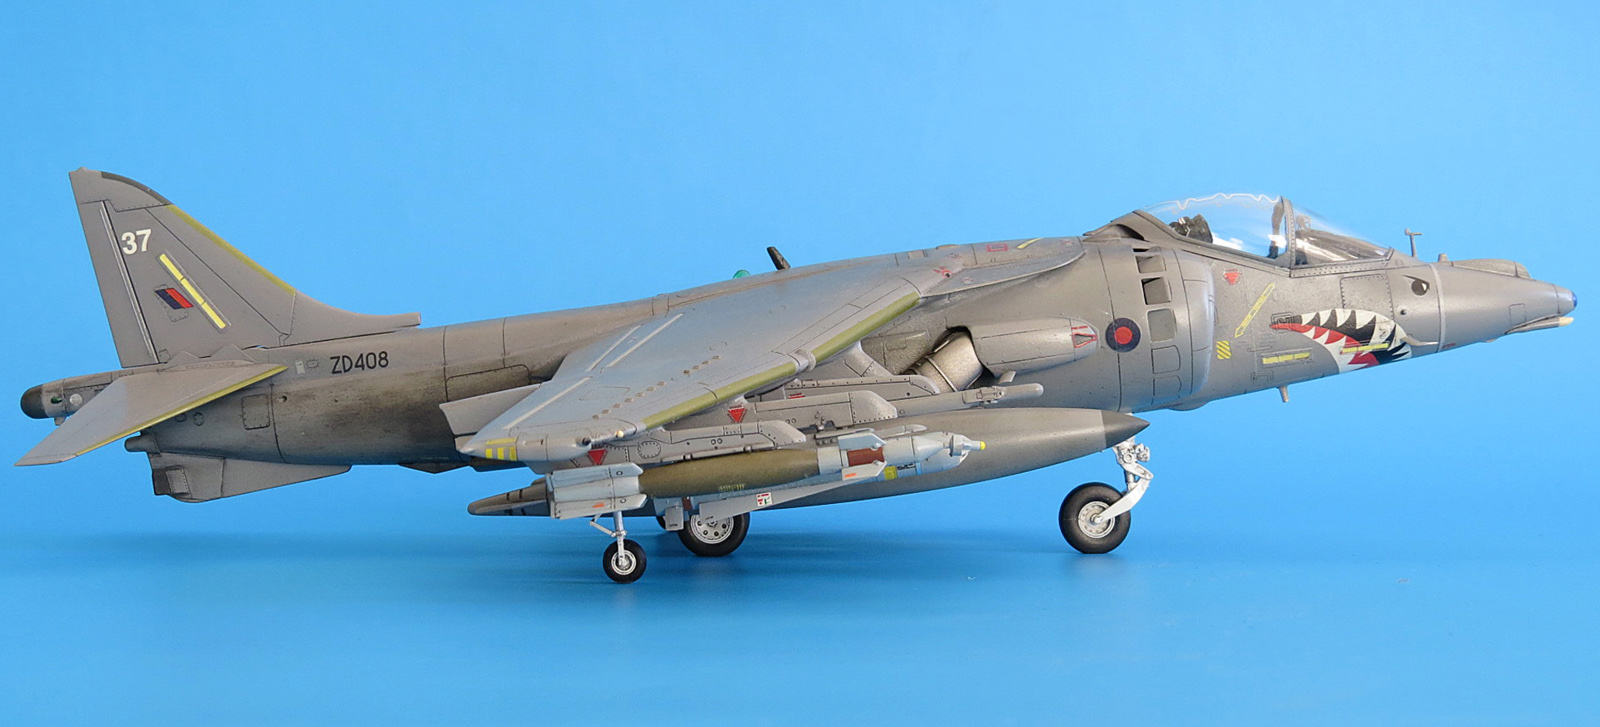
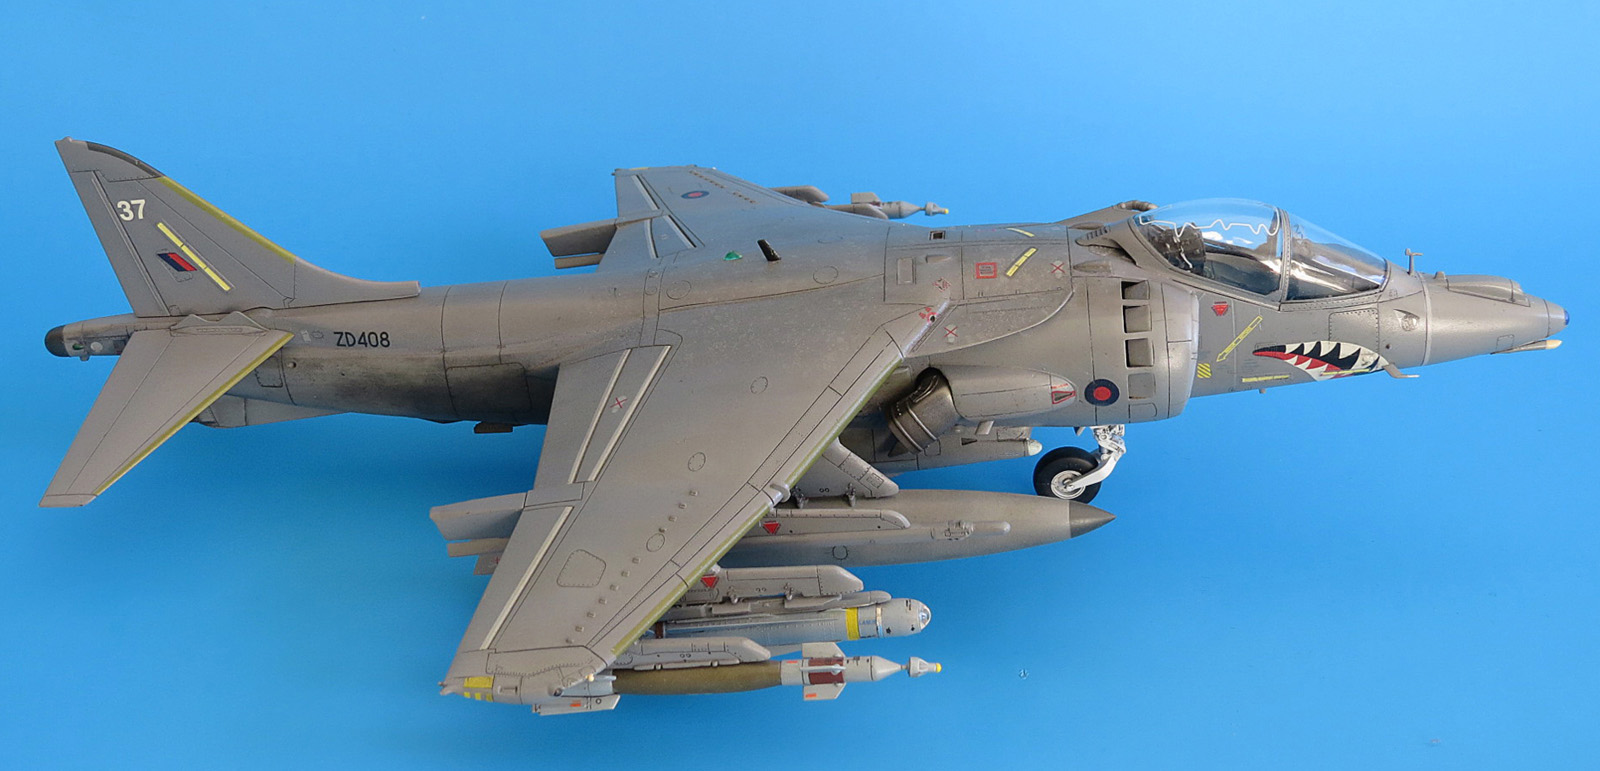
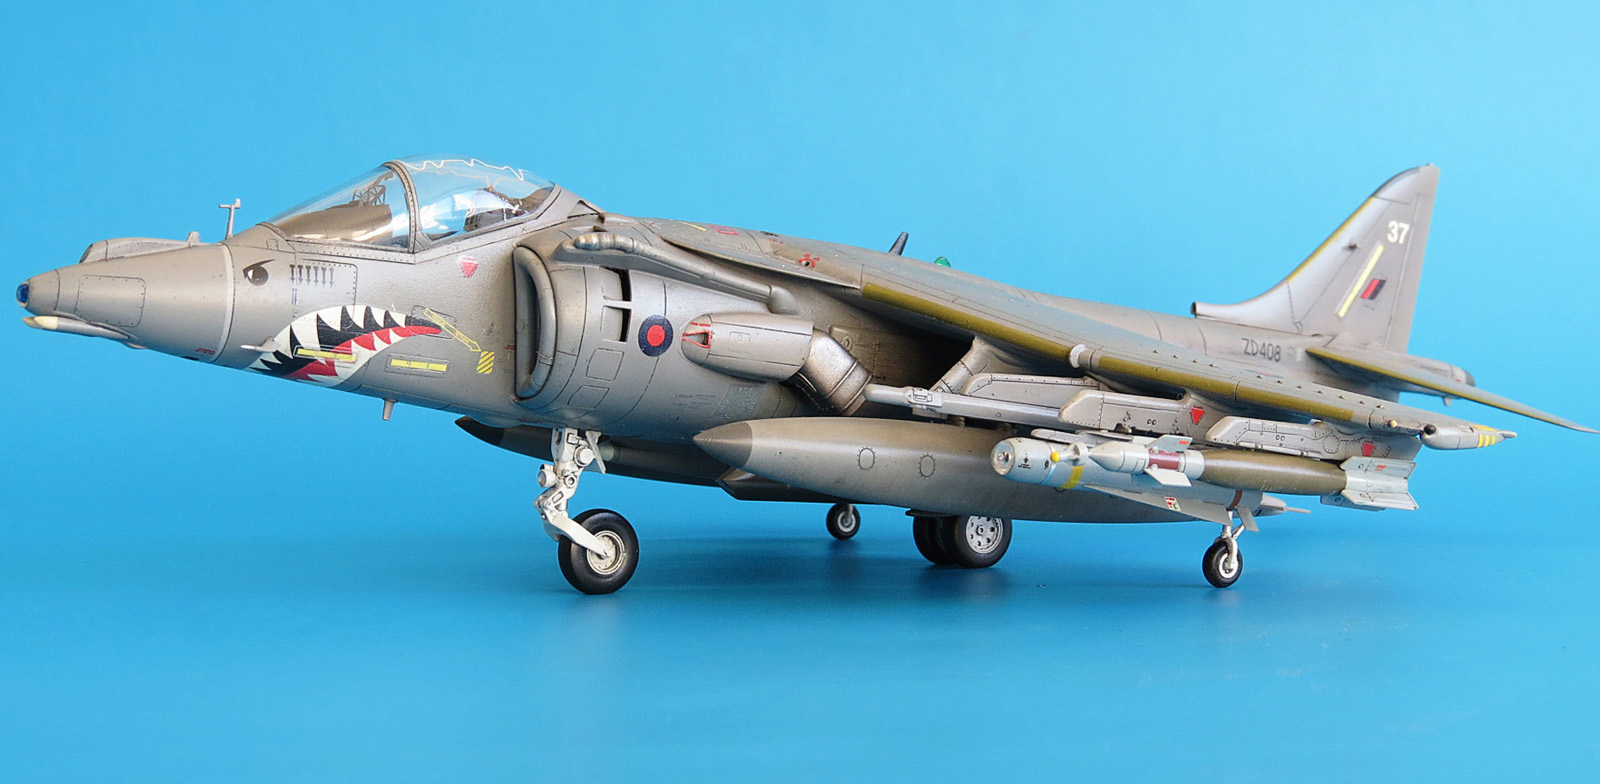
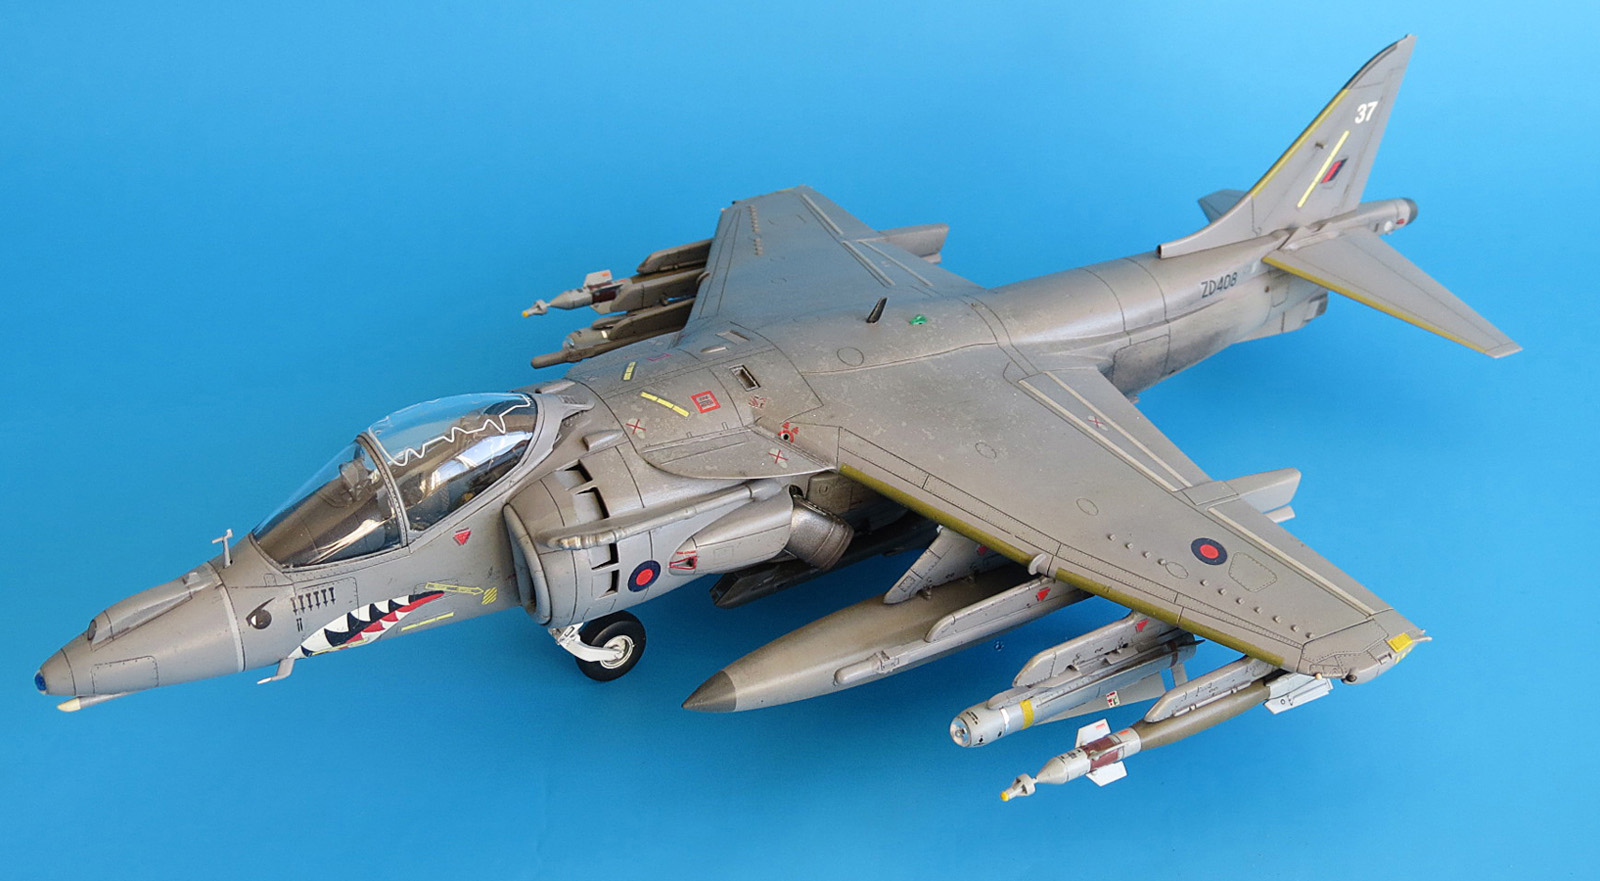
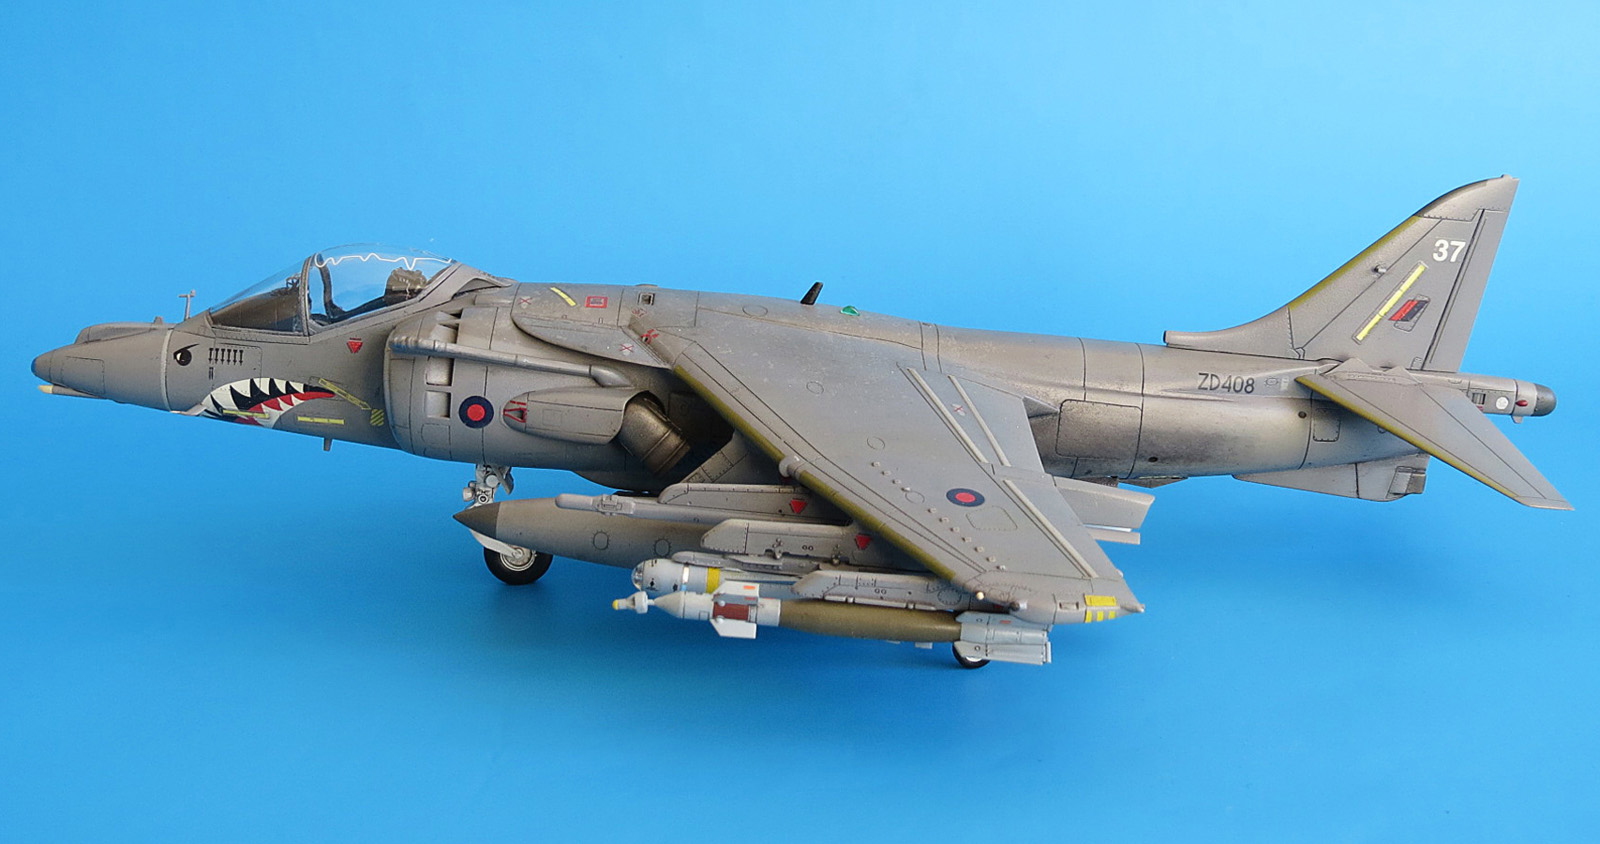
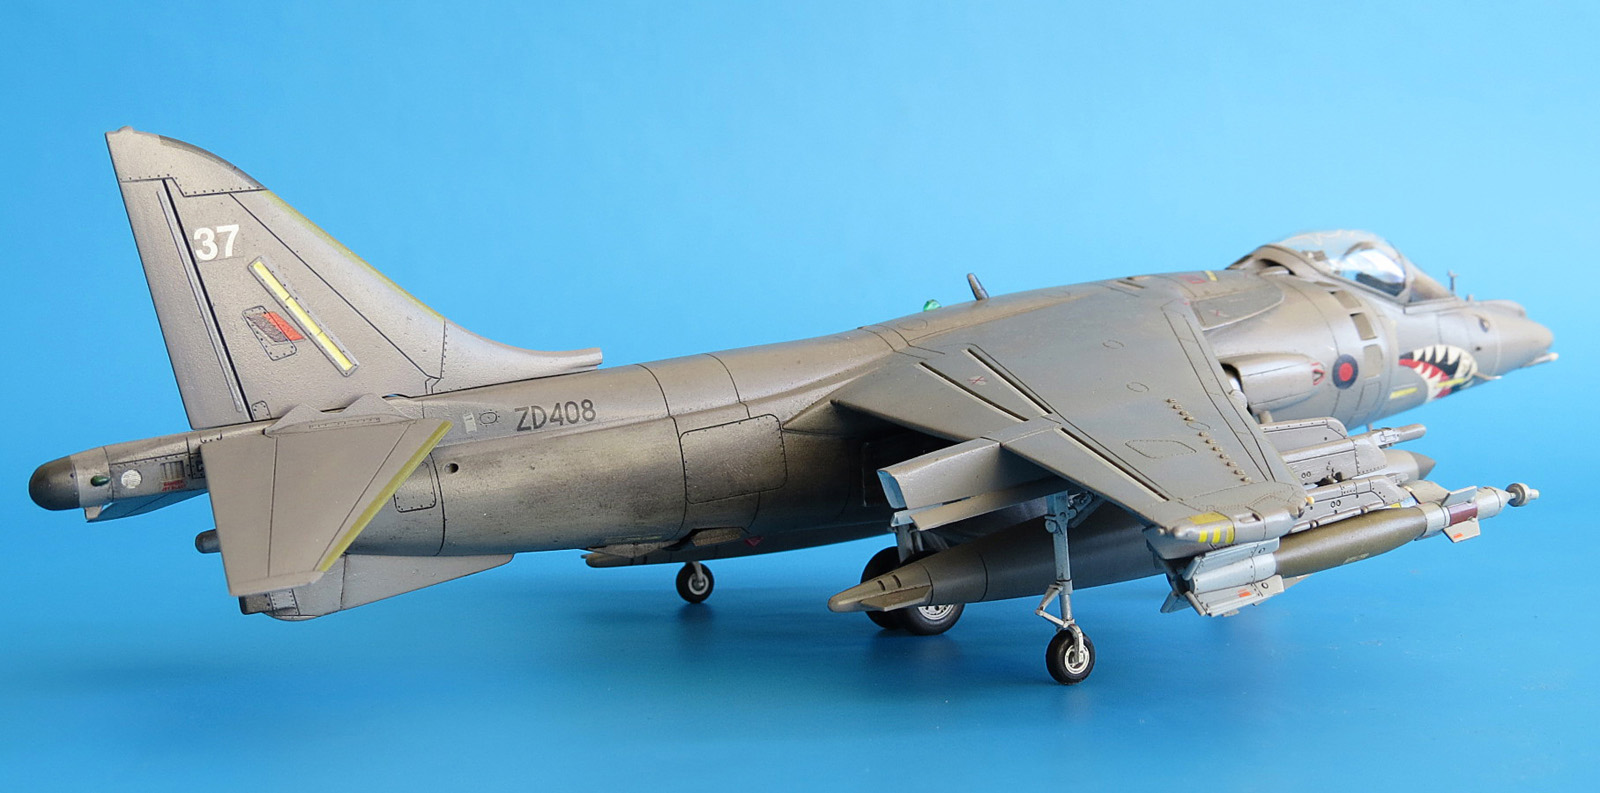
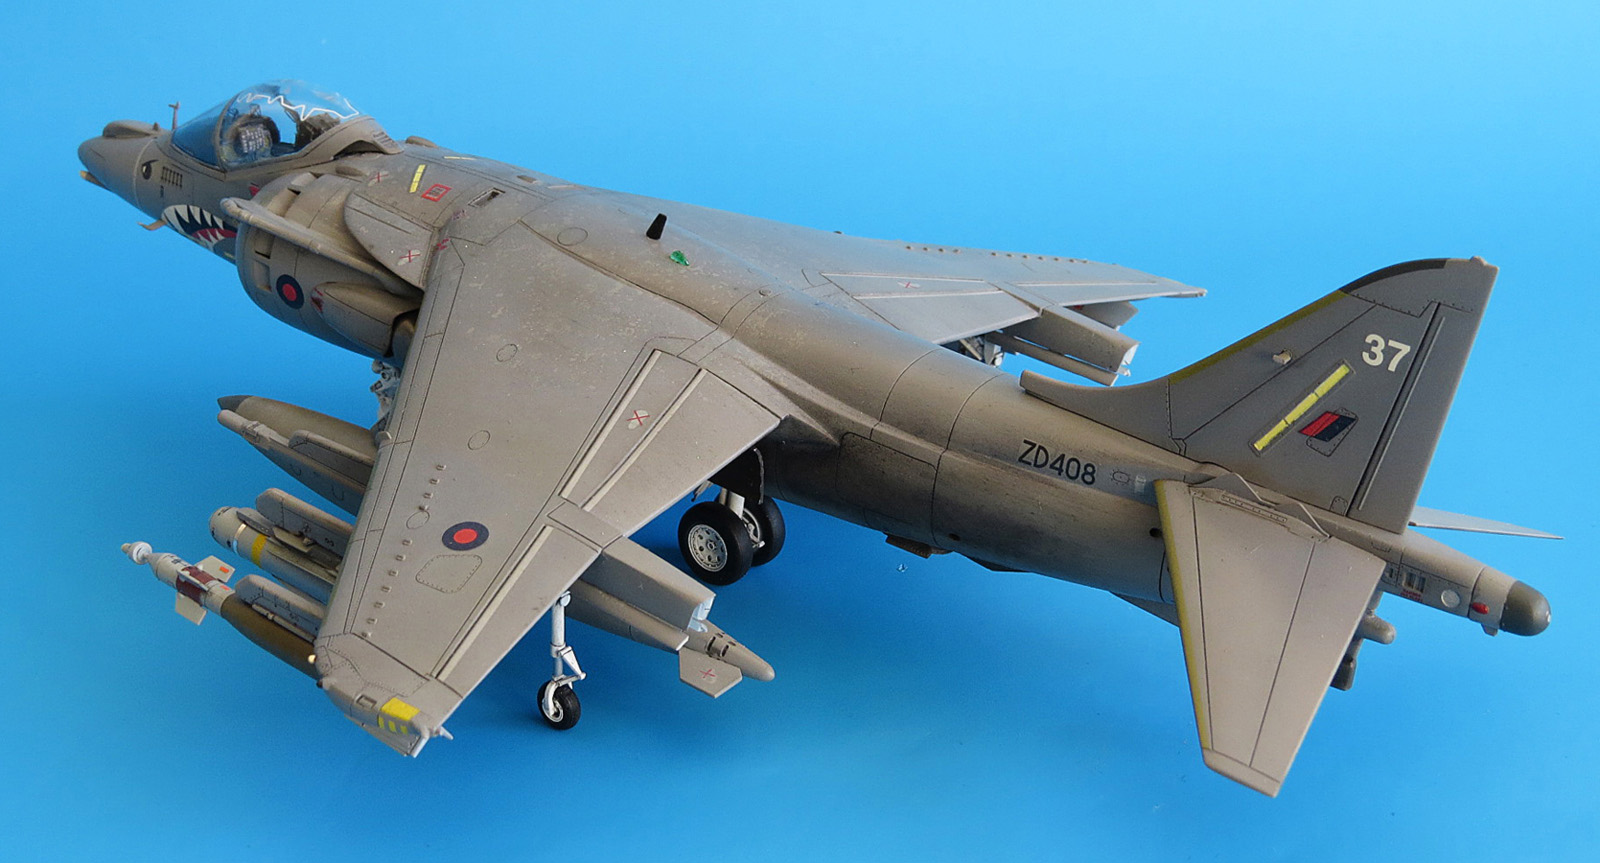
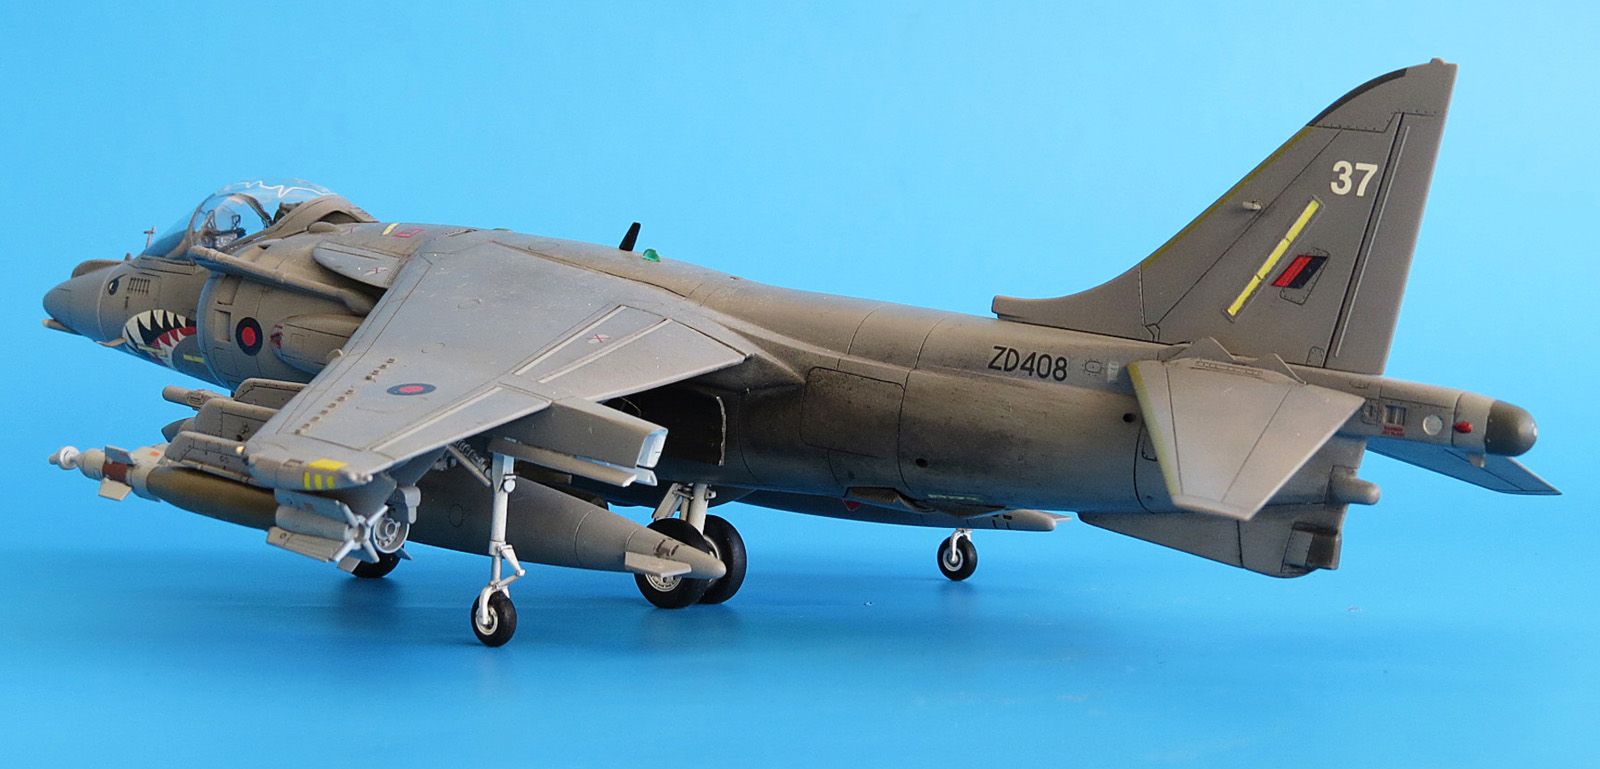
Operation Telic was carried out by the British army carried within the framework of large-scale operation of the coalition forces in Iraq, in the period from 2003 to 2009. Since the end of the Falklands conflict, the operation became the largest deployment of British troops, all kinds of troops participated in this operation, including two squadrons of Harriers, and one of the fighting planed was chosen as prototype, namely Harrier GR.7 ZD408.
About the airplane model
At the time, this model was gifted to me by my old friend and our colleague, and to assemble it was my bounden duty. To be honest, I never really liked Harrier as a plane, but somehow a set of decals for the operation Telic was purchased, it was purchased for Tornado, but there remained some options and technicals for the Harriers, and the fate of the model was sealed…
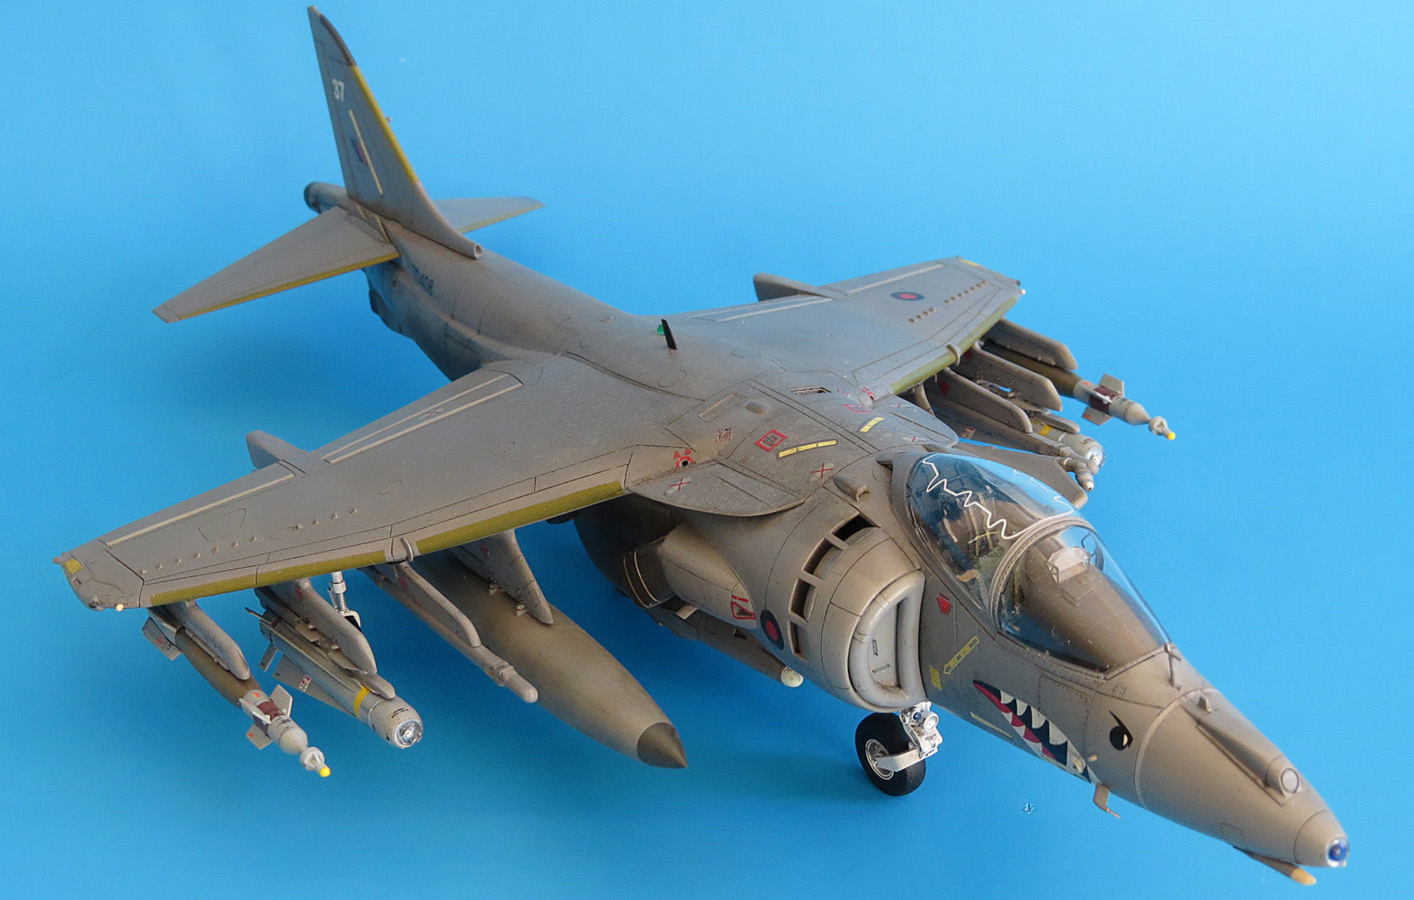
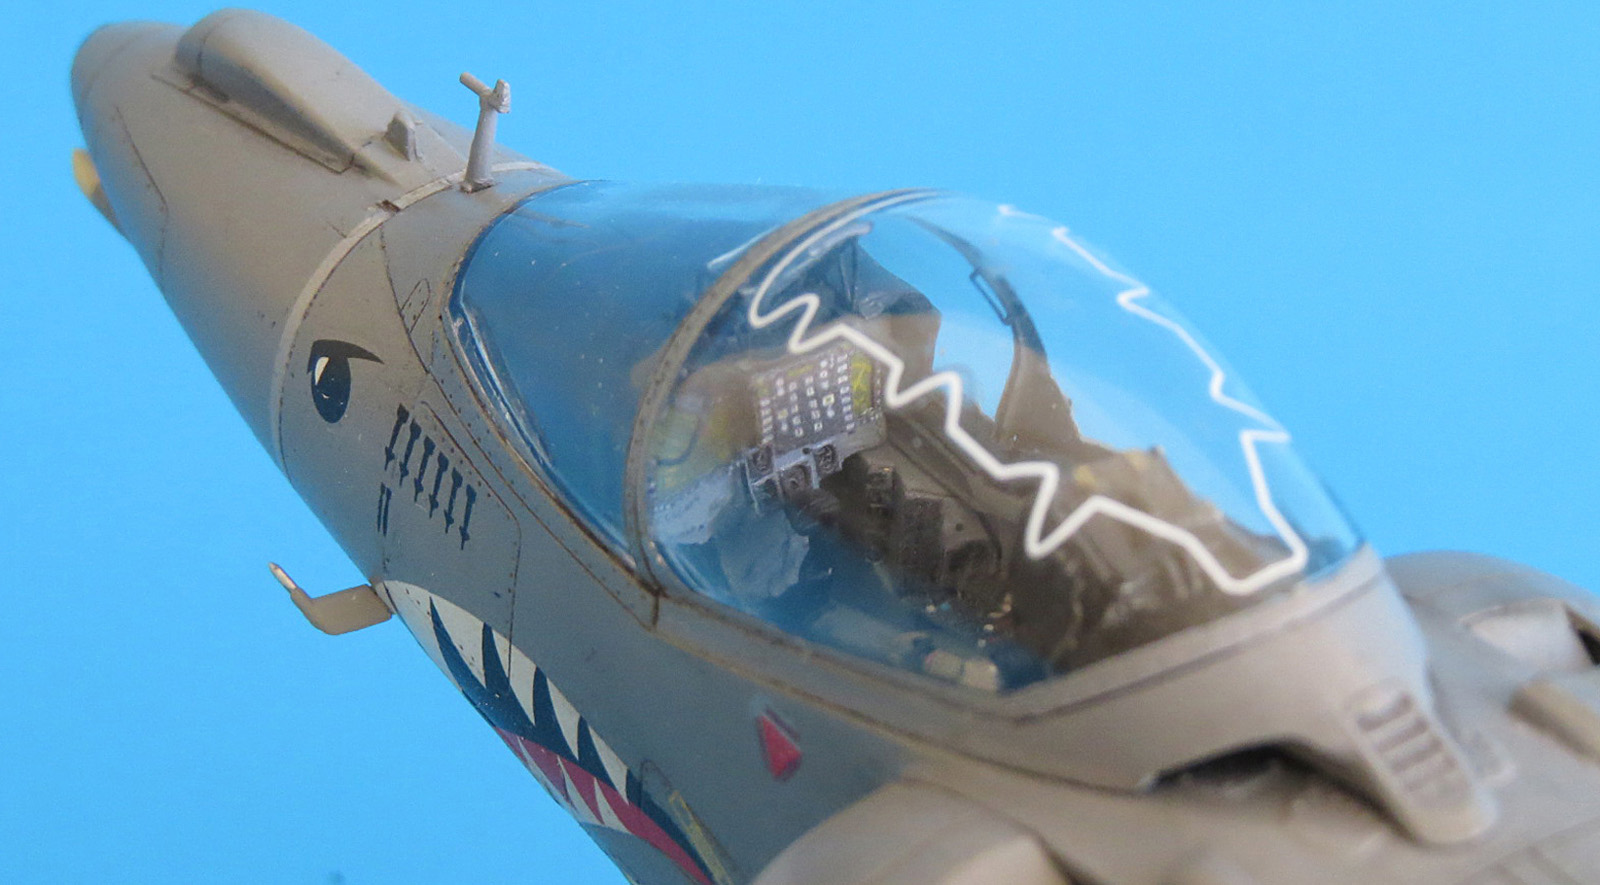
It was decided to construct the model without the use of any aftermarket, and I only used color zoom by Edward for the cabin, which sufficiently revived it. Lantern of the model is large and everything is perfectly visible there. The bow and the main part of the fuselage have been jointed without any problems, there were drilled vent holes in the rear fuselage and there were inserted the needles from droppers, also ventilation hole at the bottom of the keel was enlarged.
Difficulties in the process of assembling the plane model
And then the problems started, first, they emerged with the installation of air intakes and blinds shutters of feeding, which were handmade. From the very beginning it was decided to close the channels of the AI with “inflatable” plugs, which were also handmade from the plastic rod. The explosion cord on the lamp was reproduced using decals from the kit and subsequently it was bathed in Futur several times, the result has quite satisfied me. This decal can be seen only at a certain angle.
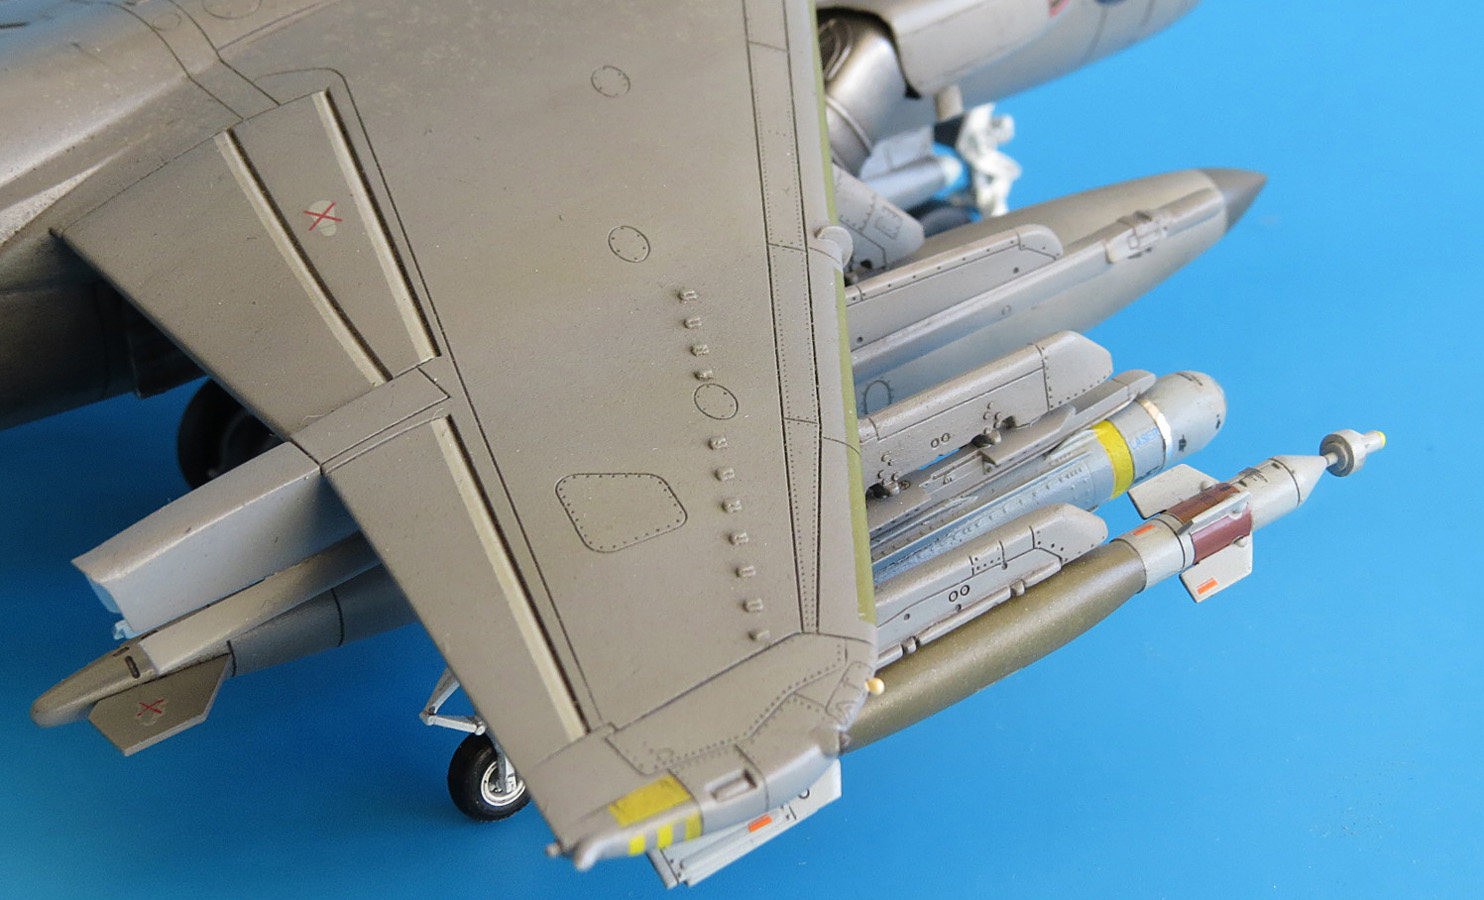
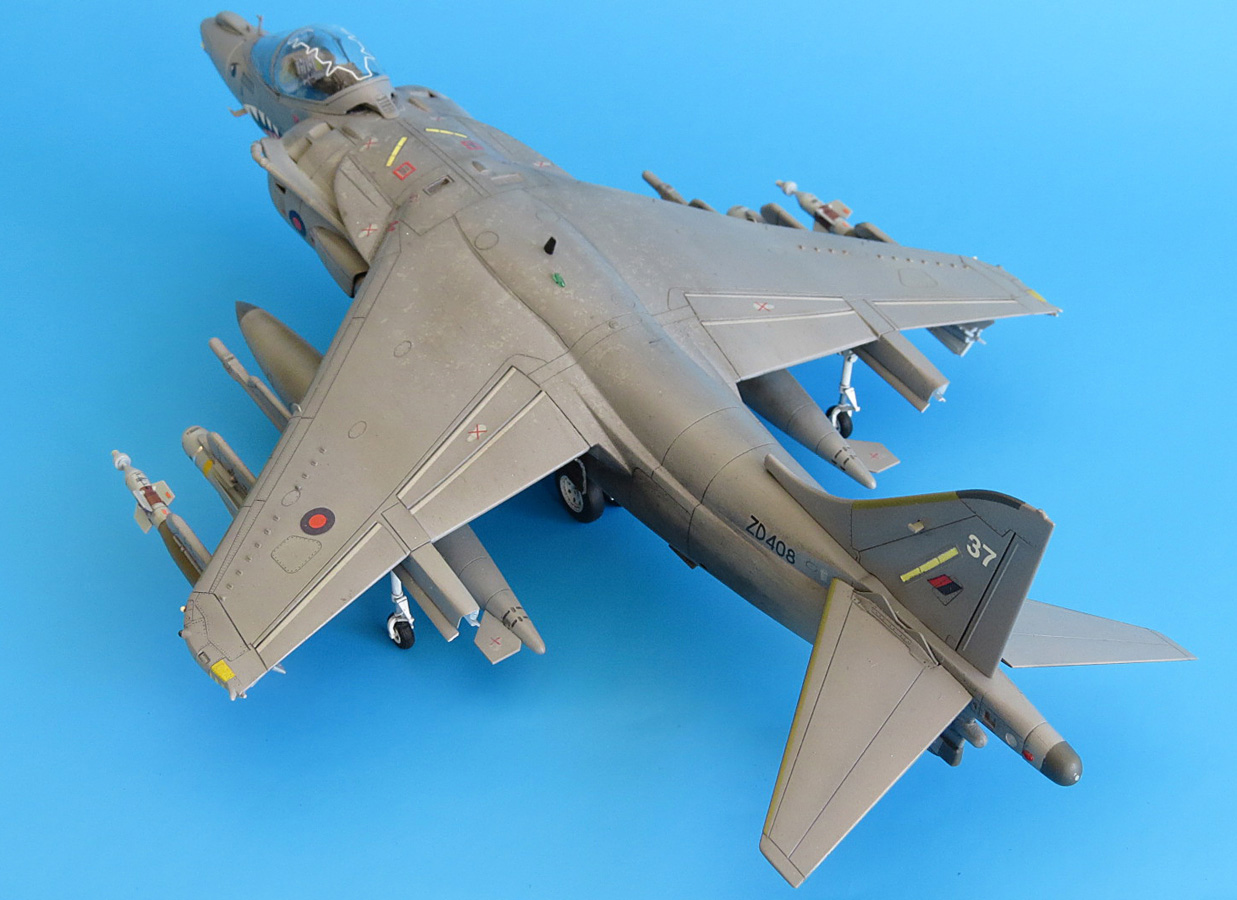
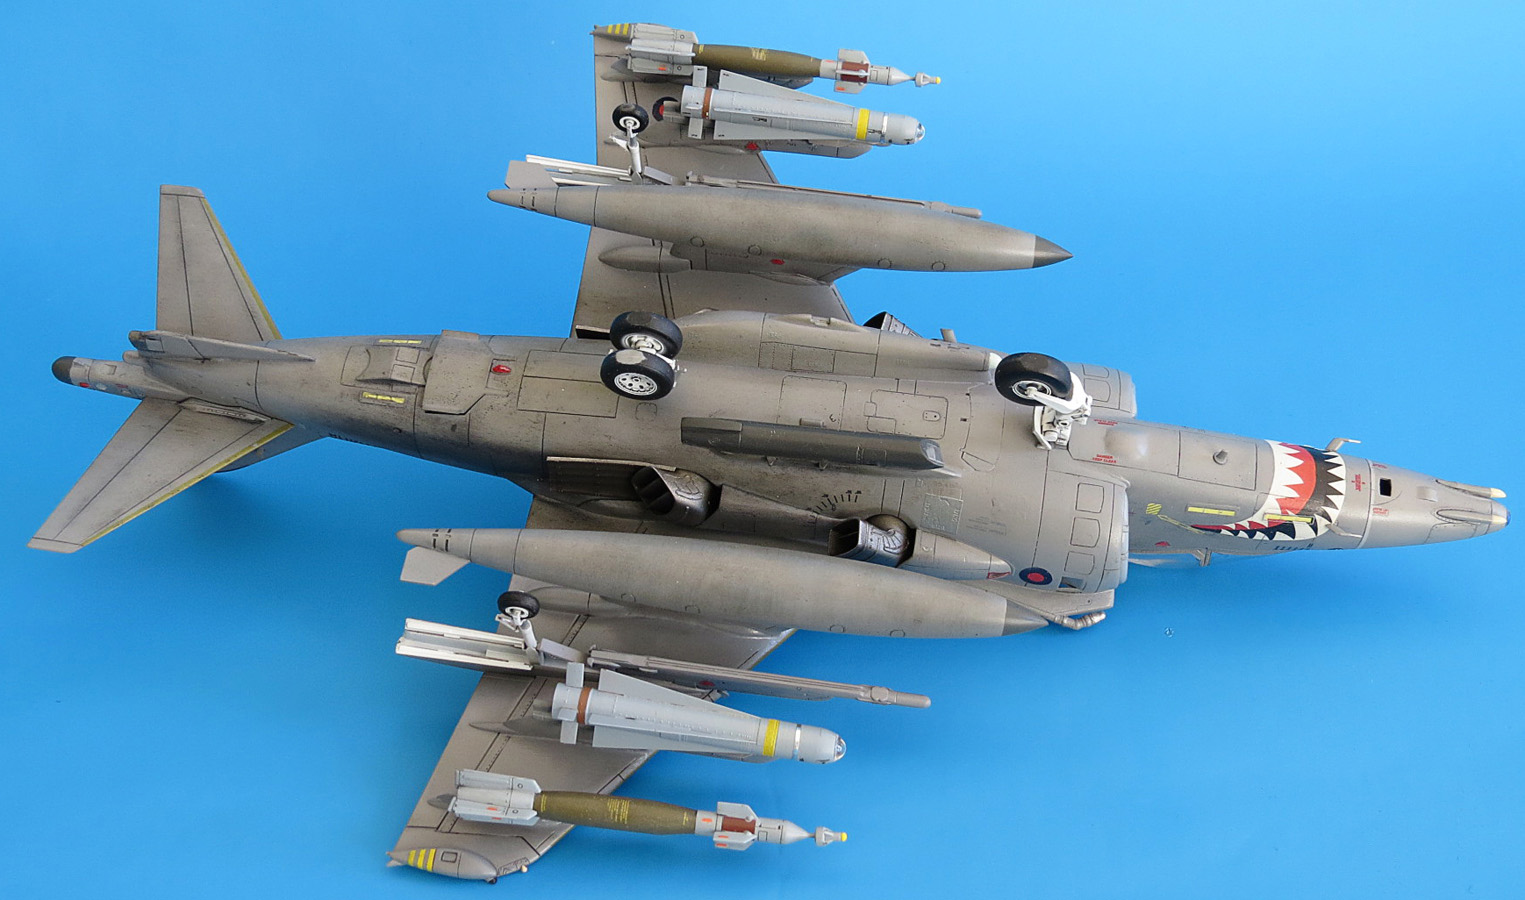
Next, the most interesting came, namely the installation of the wing, it didn’t want to settle in place properly under any circumstances. As a result, spacers were installed in the fuselage, and a sea of putty was used. Basically, at this my enthusiasm ended and the model was postponed until better times, which occurred in the autumn of the last year… As a result, the joints of the wing to the fuselage were treated with sand-paper, jointing was restored, and the model moved forward to the final stage of its construction. It is worth recalling that the landing gears of the wing were molded integrally with the wheel, it was a blasphemy to leave them like that, so the wheels were cut from the fork and in their place front wheels from Ekipazh kit for Grippen were put, which fit perfectly in size.
Weapons on the model and their modification
This model, like many other Hasegawa models, suffers from the lack of weapons, after asking on the forum, search in the Internet, it was decided to suspend the following range, two AGM-65 the Maverick, which were recently released by a company NorthStarModels, two GBU-12 from Tamiya F-16, TIALD container, a gun in the ventral container and two fuel tanks. Unfortunately later problems occurred with the container TIALD, nobody manufactures it in plastic, and the craft of a British firm Flightpath was disgusted handle, as I realized after it arrived to me. An attempt to make the container myself wasn’t successful, and in the end I decided to hang a Sniper container that the British got a bit later and which shouldn’t hang on my model, if to judge strictly. So I’ll wait for the appearance of the container in normal quality.
Painting and finishing the airplane model
The model was painted with Hansa paints, toned with oil. For the first time I tried the salt technique on the center equipment, I likes it, but it must be used very consciously and with great attention. Subsequently I blew out the model with Futur, transferred the decals, the quality of which I didn’t like – the deck is a bit too thick and hard to weld, although it should be noted that these properties played into my hands when I positioned and welded it wrong. Using Seth, I softened the deck, calmly withdrew it and set to the desired location. At the end the model was blown with a thin layer of Akan topcoating and took its place on the shelf.
Results
This model, despite all the elegance of the aircraft, is not very easy, which is difficult to say by looking at the box. It has many pitfalls, and I wouldn’t recommend it for beginners. I’d add that I will hardly do again another Hasegawa Harrier, the pleasure from the process is minimum, and hemorrhoids is above the roof. But those who have a great desire to build a Harrier can try, the end result is worth it.







Leave a Comment