Post By RelatedRelated Post
Kit manufacturer: Hasegawa
Vehicle type: Military
Engine type: Reciprocating
Model of WWII era: 1939-1945
Country of origin: United States
Model scale: 1:48
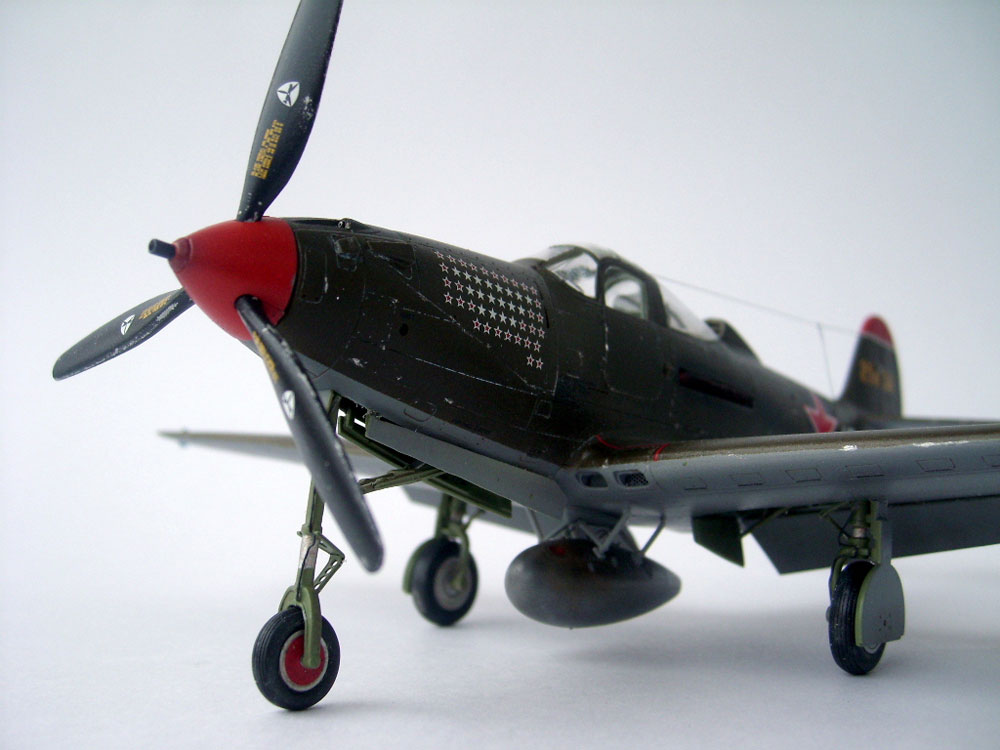
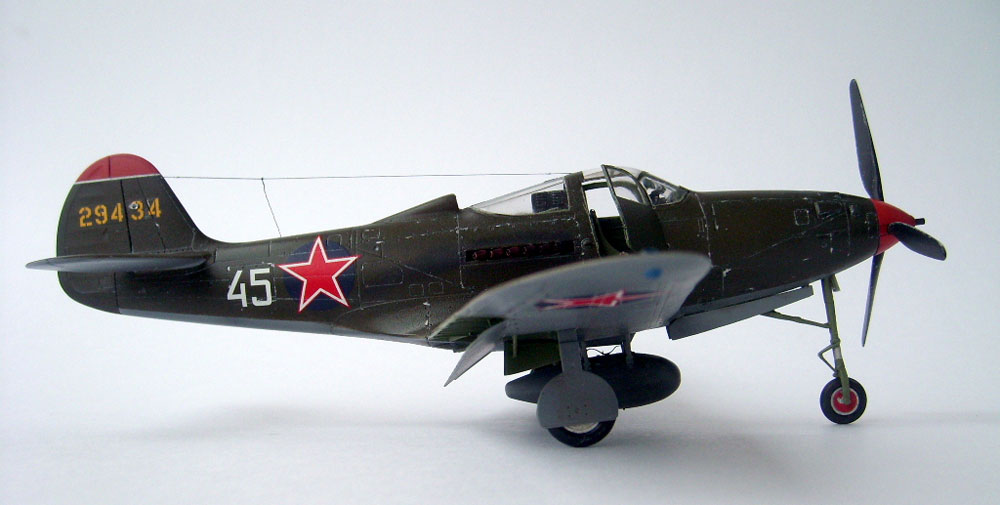
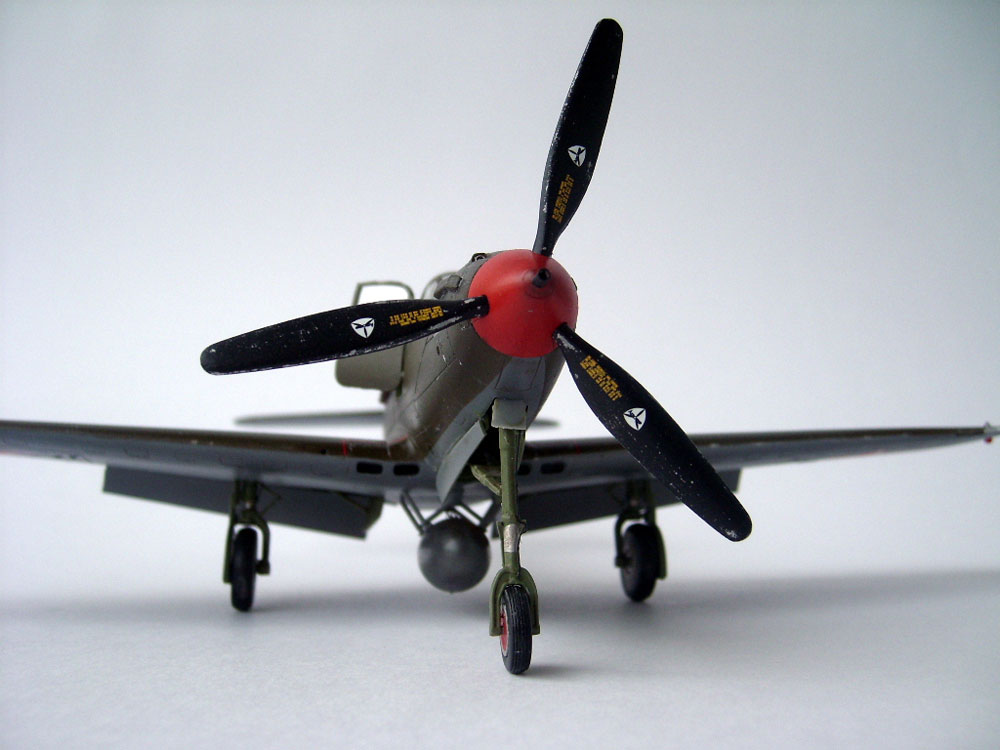
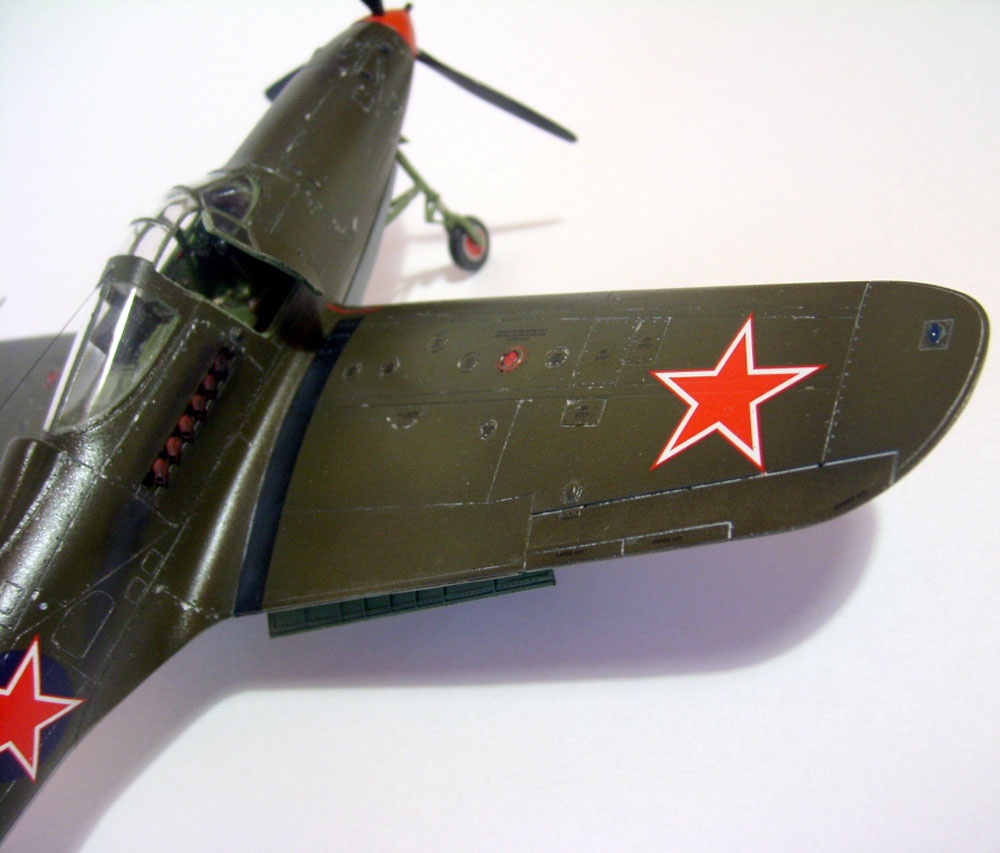
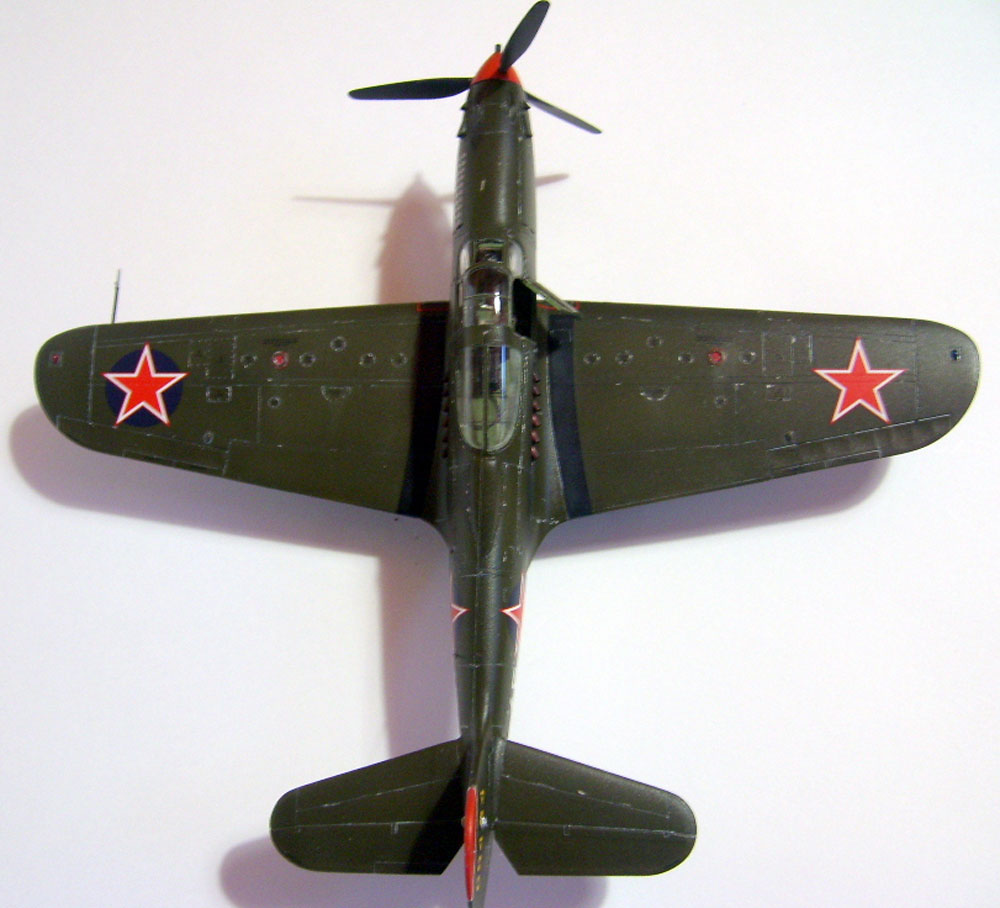
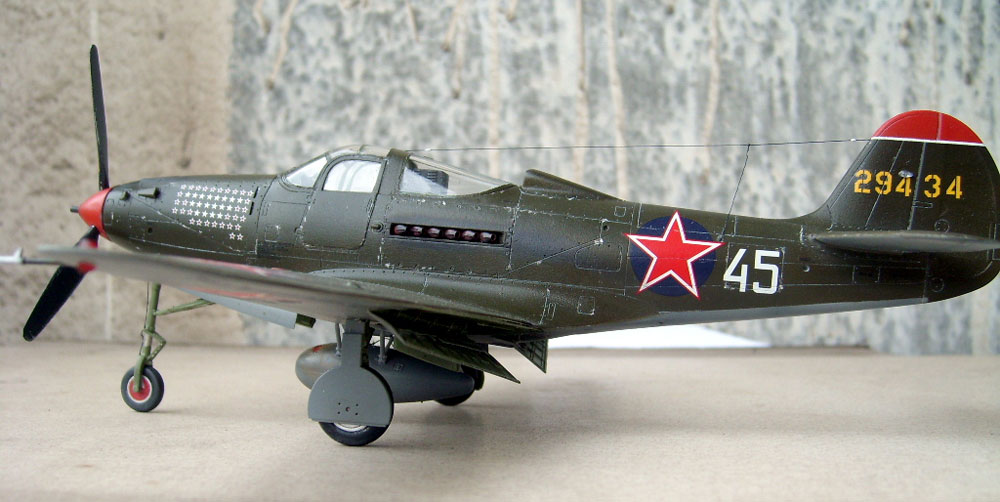
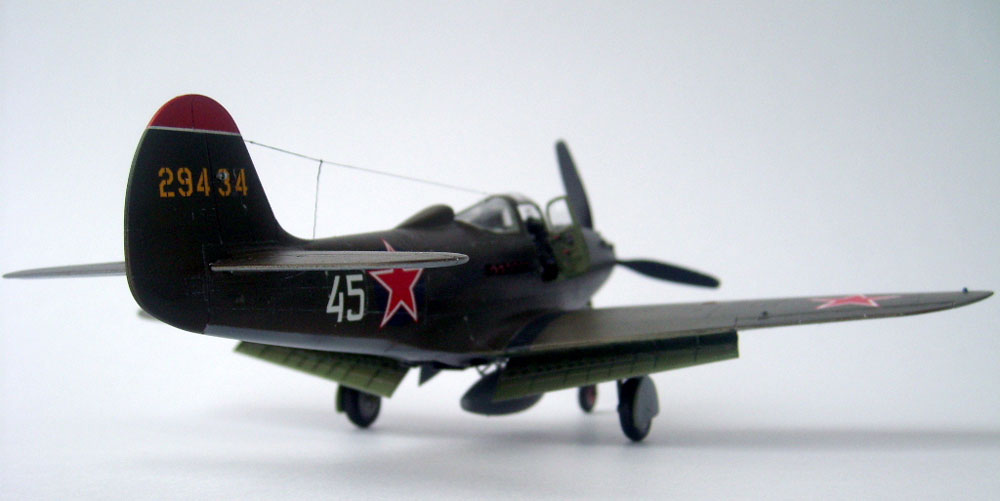
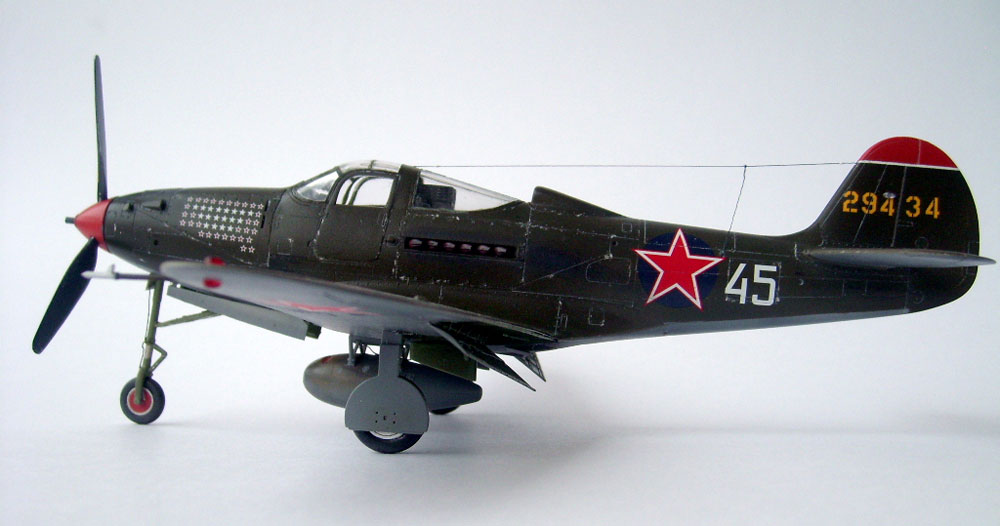
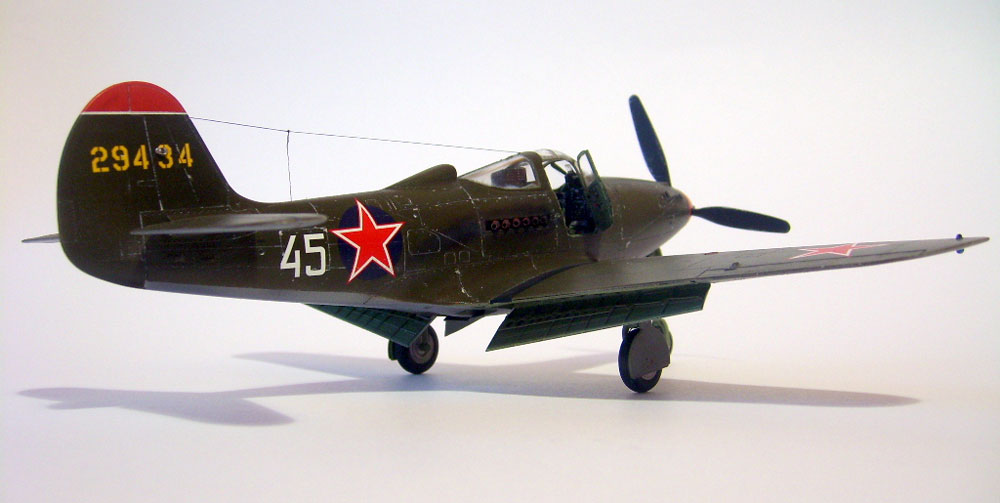
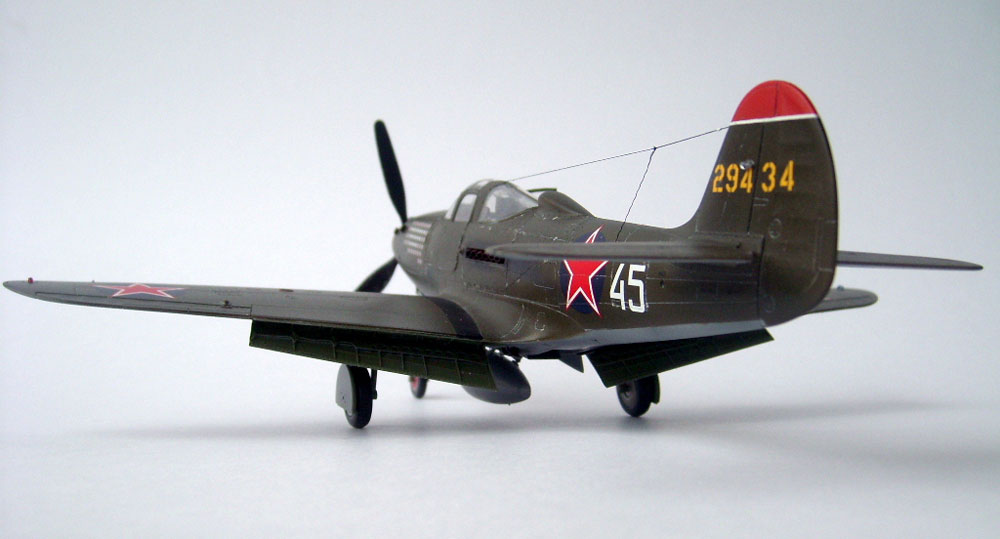
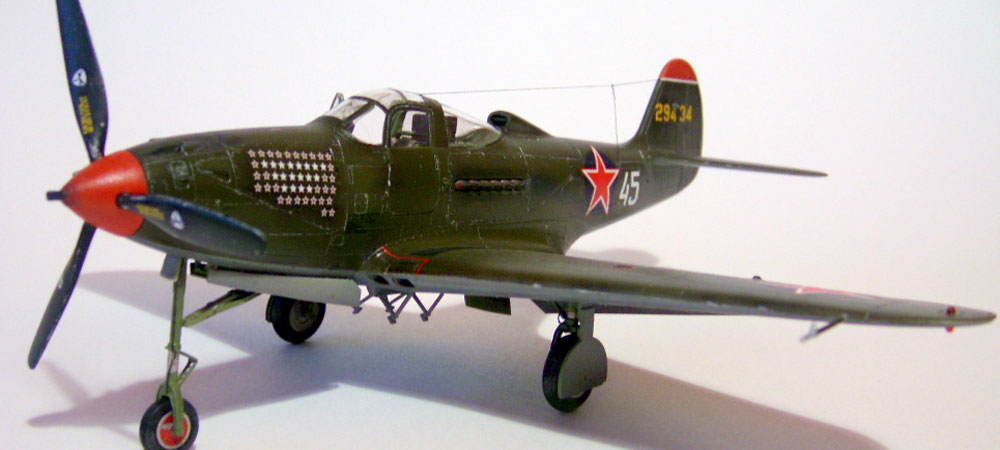
Hello everyone! I present for general overview a plastic airplane model by Hasegawa -Airacobra P-39N. The prototype of the plastic airplane model is captain Clubov’s plane 45 (16 GvIAP).
For the moment of construction I had the following equipment:
- the model Airacobra P-39Q (N) itself
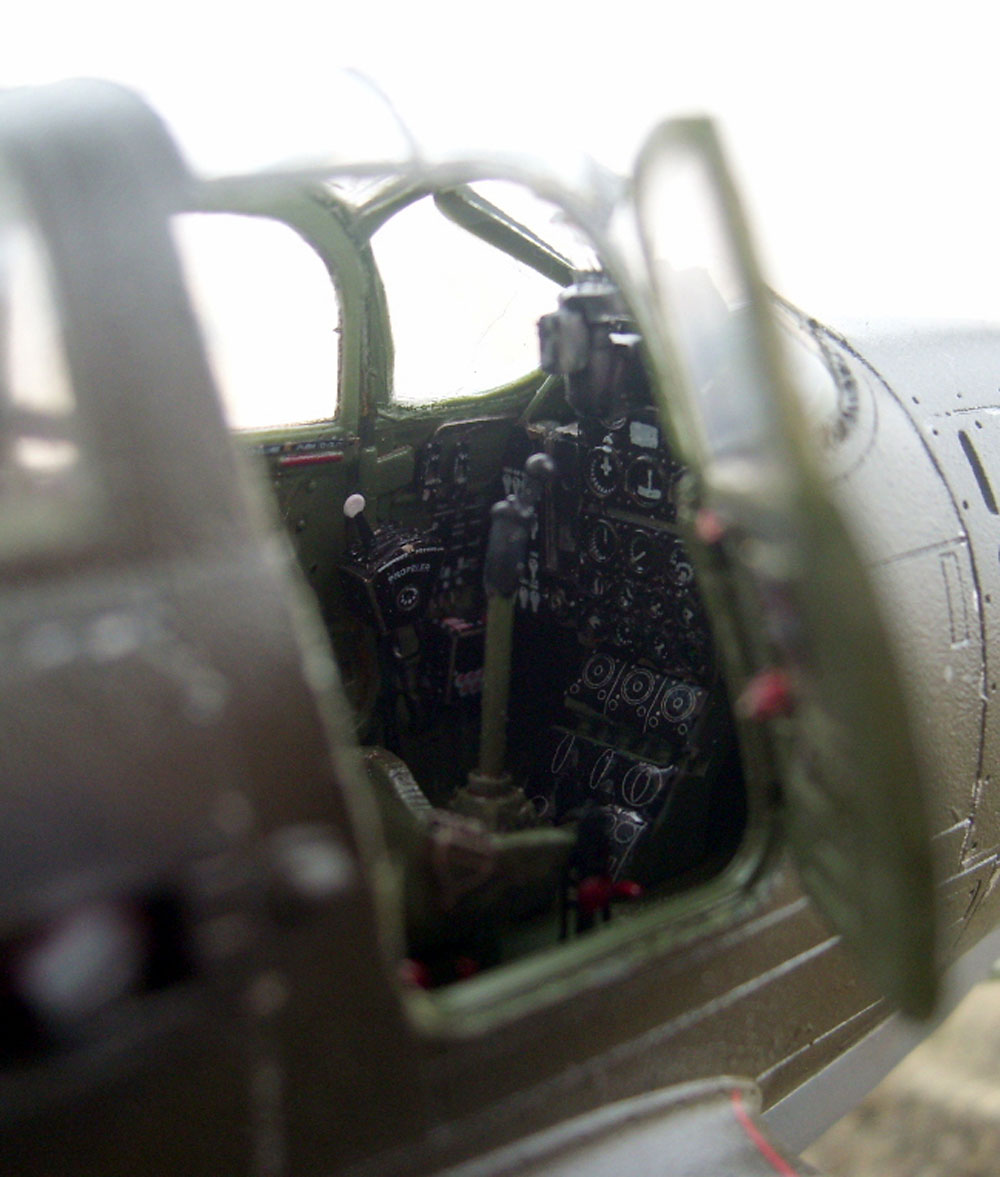
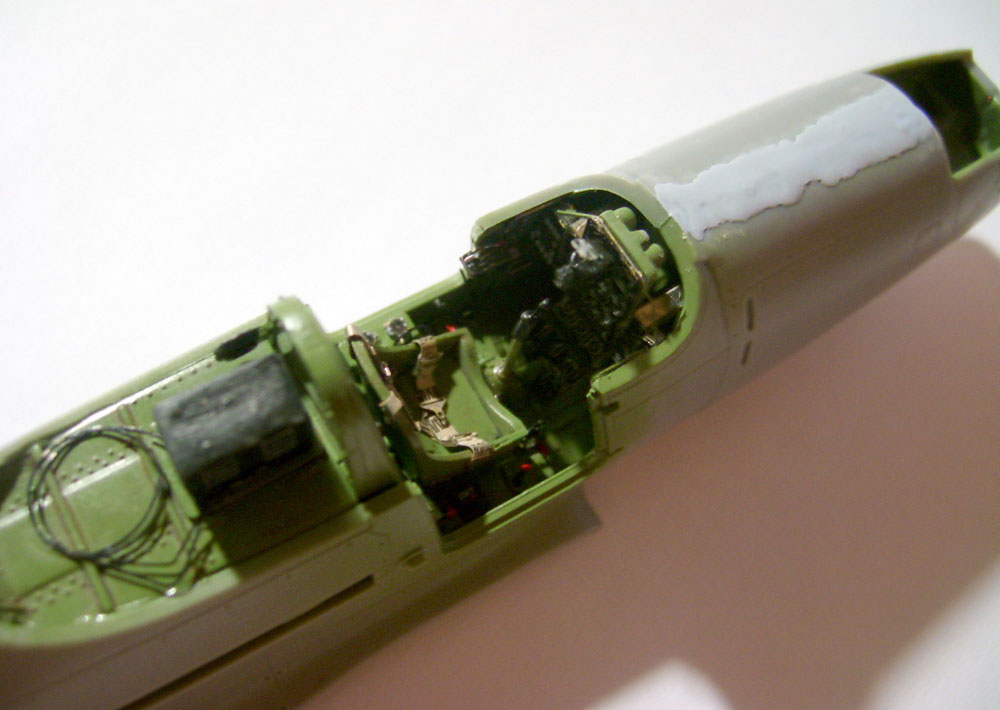
- interior and exterior photoetching by Eduard
- flaps-photoetching by Eduard
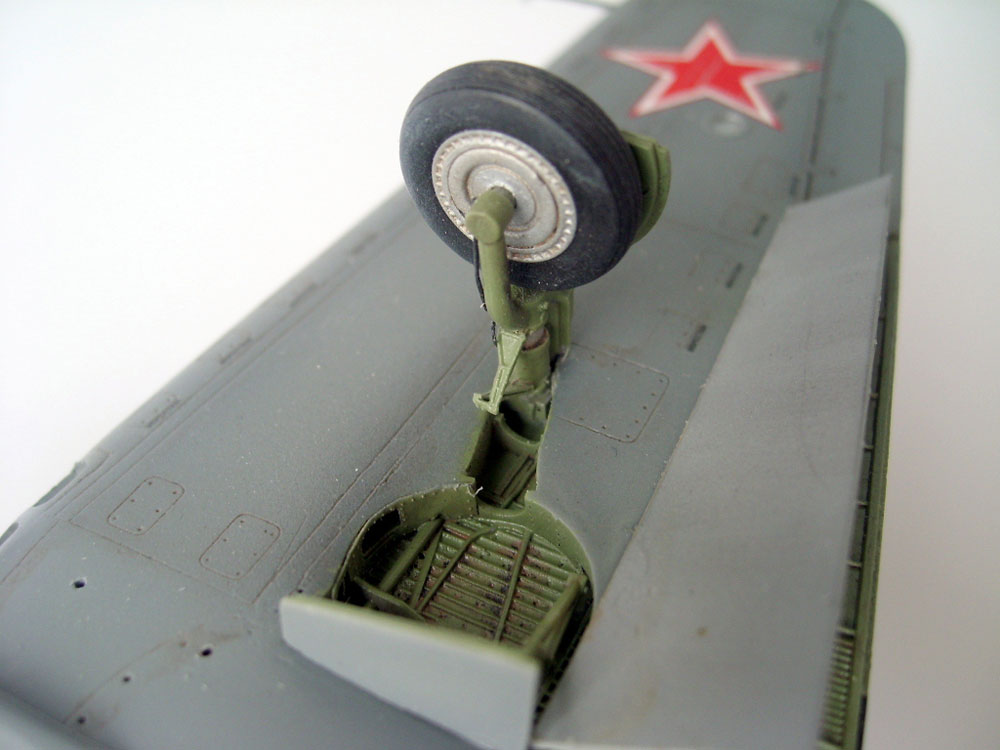
- niches of chassis (front and wing) by Aries
- weels by Elf
- exhaust pipes by Rexx (galvanic growing)
- Nav light by Elf
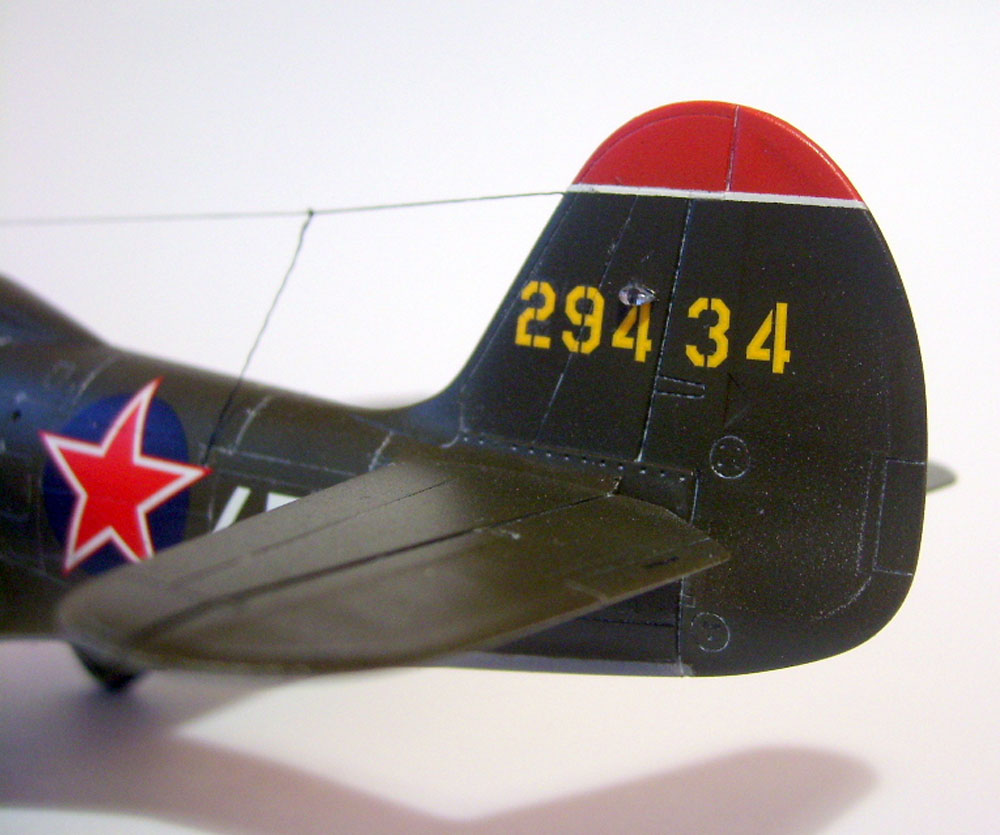
- Decals by AeroMaster.
 plastic airplane models foto 8
Detailed review of the process of plastic airplane model construction
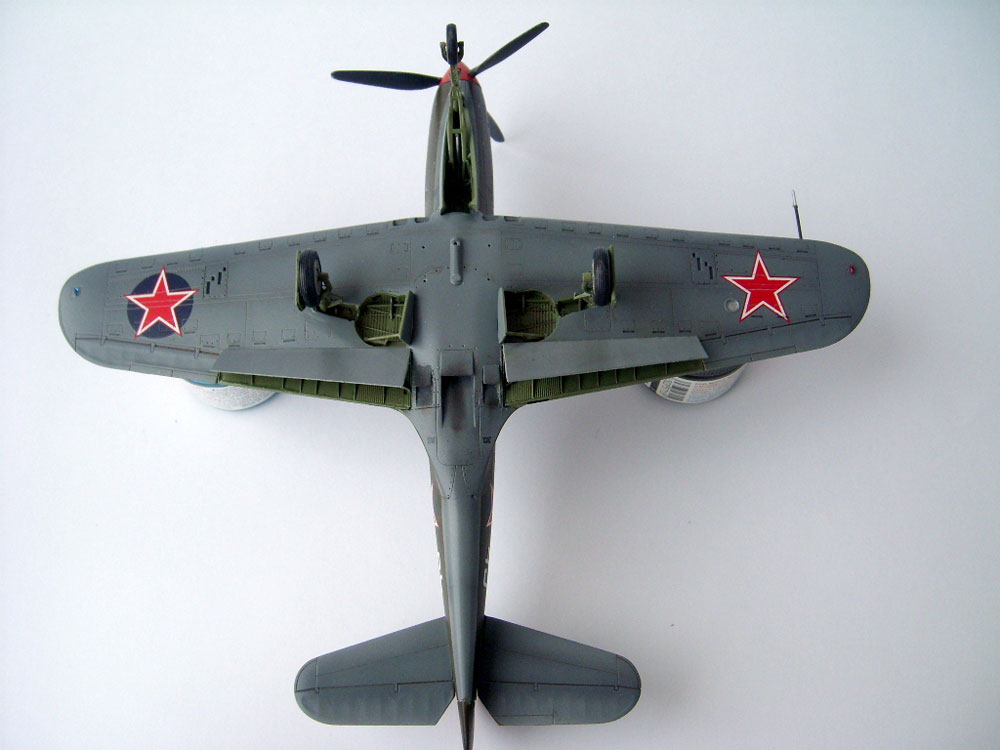
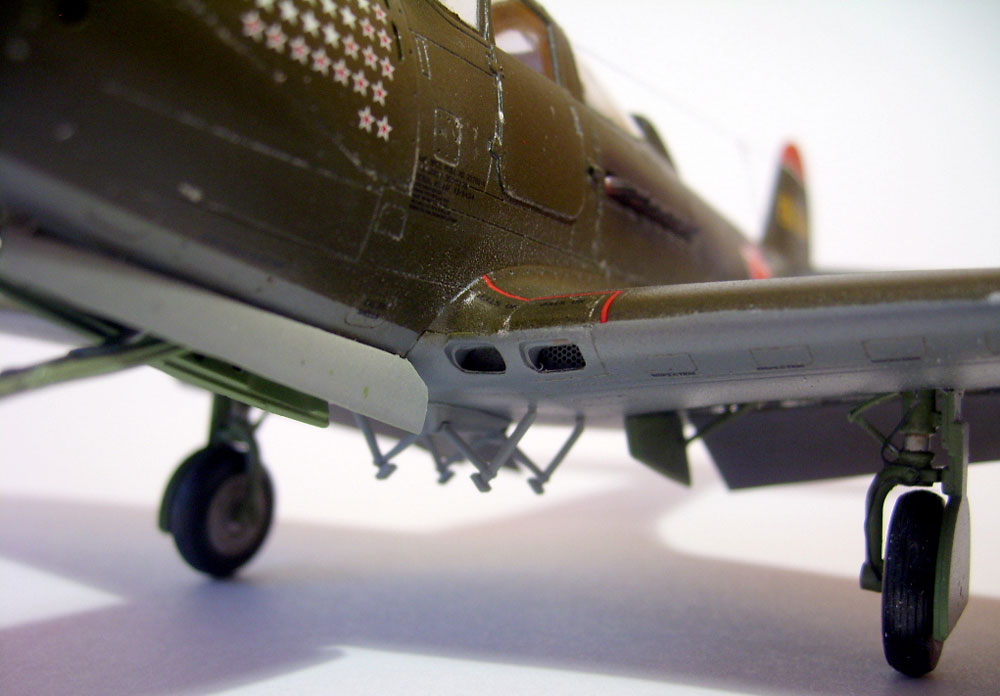
Construction gave me a lot of positive emotions, except, perhaps, the “implantation” of one of the wing landing gears, and in that no one but myself is to blame. In general resin parts by Aries don’t differ much in detailing from the “native” ones (there was in fact no need to change them), but the task was to “cut and place”, and since I did it for the first time, there were some mistakes. The time spent on correcting the model was compensated by a pretty good result (in my opinion)). Engine hoods were glued with self-adhesive foil, and the locks were pushed in. Flaps were assembled without problems, but with the installation I had to tinker. The open part of the flaps was glued after painting, as well as pipes. Also I “planted” Futura on the right-hand door in order to make it open at the end of the work.
 plastic airplane models foto 6
Once the model has been collected and degreased, I blew all the surfaces with the transparent primer by Revell “Aqua”, to get rid of traces of glue, scratches left after sanding. Next, the main primer was Tamiya Surface from the cylinder, dried for 15 hours.
Final stages of assembling the plastic airplane model
Everything was painted with Tamiya acrylic: cabin – Cockpit Green, niches and flaps, too, but with addition of Dark Green, preshading – Dark Grey, bottom – Netral Grey, top – Olive Drab, chipped parts – Flat Alluminium. I partially lighten the top by adding drops of white. “Cap” and the spinner I painted with red aero-varnish Akane AII. Next, a layer of Futura. After drying, decals. I liked the decals by Aeromaster very much, what I can’t say about Hasegawa’s ones – a thick substrate is welded to the fifth time, I spent one third of the can of Sola (for informations – I glued and welded about 82 technical inscriptions by Hasegawa (!), this occupation, to say directly, is very meditative)… After that – another layer of Futura. After drying, the washing (MIG), and even some more gloss. I installed the flaps, pasted pipes, pulled the antenna. Finishing varnish I made “by eye” from X-22 and X-21. Tinting – Tamiya dry pigments.
Enjoy watching! Sincerely yours, Alexey!
P.S. I have forgotten to say, the model can rotate (mechanically), and the optional tank is removable.









Leave a Comment